How to Unprotect an MS Word Document for Opening and Editing

This tutorial will teach you how to unprotect Word documents that have lost or forgotten passwords.
Most of us use Microsoft Word for school and work. This word processor is convenient, especially if you are making a collaboration project with your group or team. A Word document is shareable and editable by multiple persons. Though you can set restrictions on your Word document on who can edit your file and who cannot. You can even lock or protect the document entirely by setting a password to make the content private.
Now, as protected as it sounds, sometimes the protections can cause problems like if you or your colleague forgot the Word document’s password. Let us say you’ll need to get access to a protected Word document for opening and editing, but without having the password, things can be a hassle.
If you are experiencing this problem, then learn how to unprotect Word documents without having a password.
A simple yet effective way to unprotect a restricted Word document without a password is by using Passper for Word. Passper for Word is a password unlocker tool designed to help open and edit restricted and locked Word documents. This password unlocker tool will enable you to lift restrictions and protections without corrupting the data on the document.
Passper for Word can recover a forgotten password of a Word document and also if you want to delete, annotate, edit content, copy, and format restricted Word documents. It has two specific features; one is for unlocking a private document and the other is for editing a restricted document.
By using a convenient tool and following the easy steps I’ll be giving, you’ll be able to open and edit your Word document in no time.
How to Unprotect a Word Document for Editing Without Knowing the Password
These steps are for Word documents that are restricted from editing, not for opening a locked Word document.
Free Download
Use Passper for Word. This password remover tool will help you unprotect a restricted Word document fast.
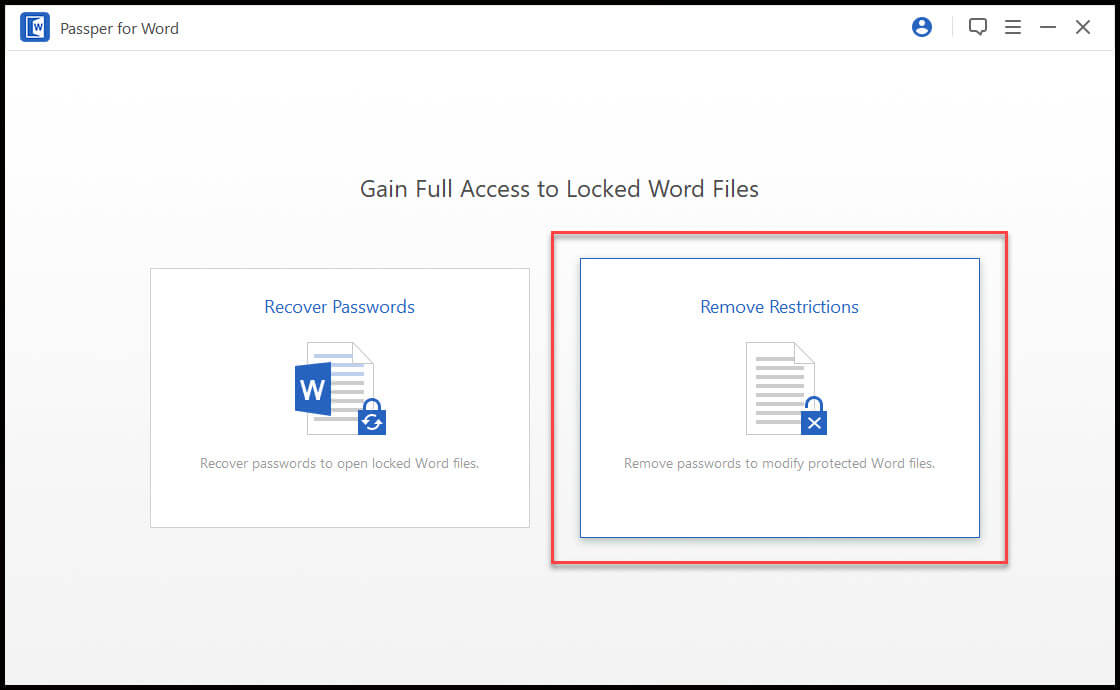
Step 1: Install and open Passper for Word software. Then, you’ll need to choose between the “Recover Passwords” or “Remove Restrictions” option. Since you only wanted to edit a restricted Word document, click “Remove Restrictions”.
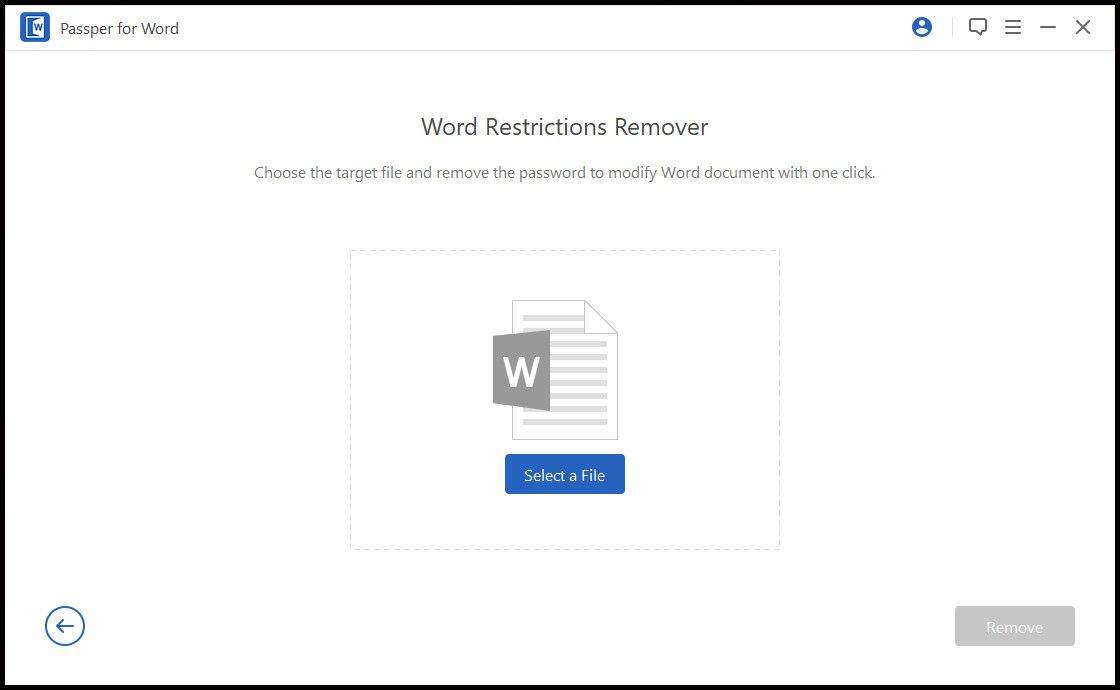
Step 2: Once you’ve chosen your desired option next is to upload the restricted Word document. To upload the restricted Word document into the software, click on the “Select a File” option.
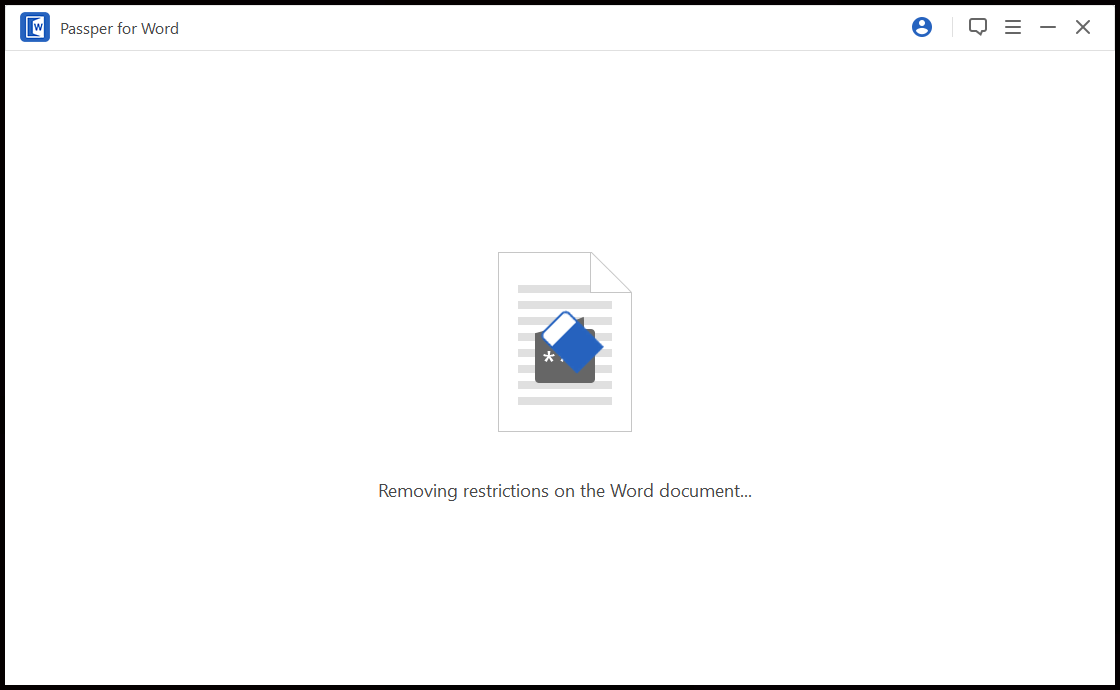
Step 3: After you uploaded the Word document, click “Remove”. This signals the software to begin the remove-restrictions process.
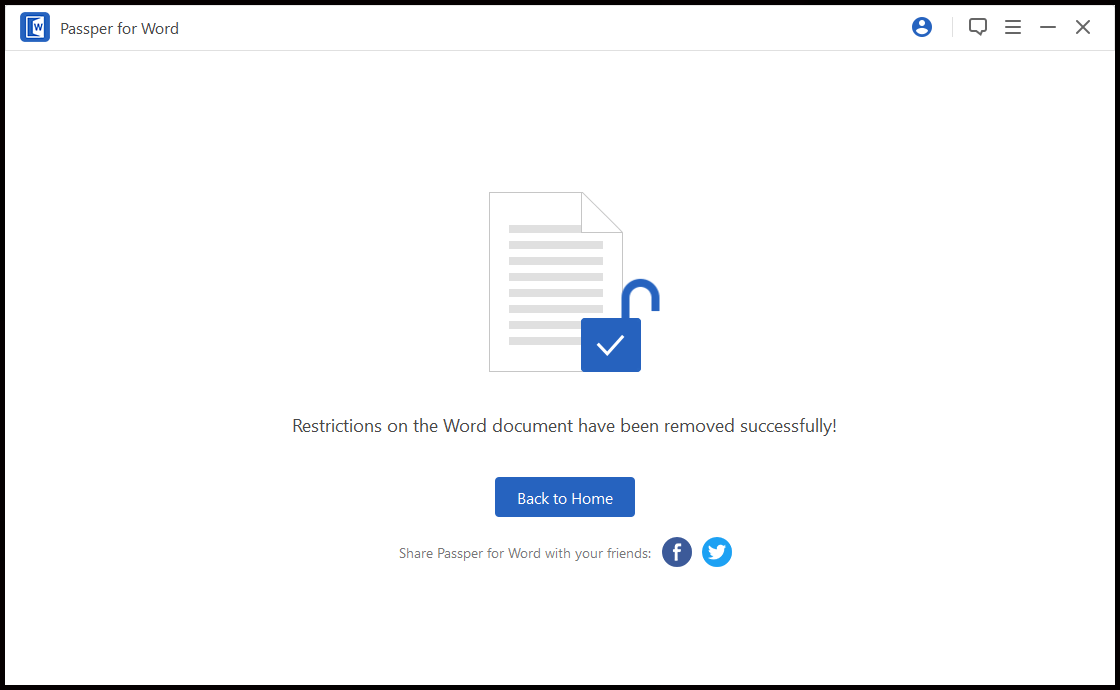
Step 4: Now, in just a few seconds, the Word document becomes editable. Click the Passper for Word folder on your desktop to check the unrestricted Word document. This will bring you to the unprotected Word document file path C:\Users\UserName\Desktop\Passper for Word.
How to Unprotect a Password Locked Word Document
Use Passper for Word to open a locked Word document.
Step 1: Launch the software. This time you’ll need to select the “Recover Passwords” option.

Step 2: Click “Select a file” to upload the locked document into the software.

Step 3: Then, once the select a file option is checked, choose one of the 4 attack modes to use when recovering the password. Each of the modes is useful depending on the complexity of the encrypted password in the Word document.
These 4 attack modes are composed of:
- Combination attack – This mode combines letters, numbers, and symbols based on what you’ll give and the length of the password.
- Dictionary attack – This mode strings a list of passwords or uses the built-in dictionary of the software.
- Mask attack – This mode searches for the correct password based on the provided information.
- Brute force attack – This mode uses a brute approach to recover the forgotten password. Brute force mode will combine all characters until it unlocks the document. However, the length of the password can increase the recovery time.
Step 4: Click “Recover” after you have selected an attack mode, then Passper for Word will start recovering the password.
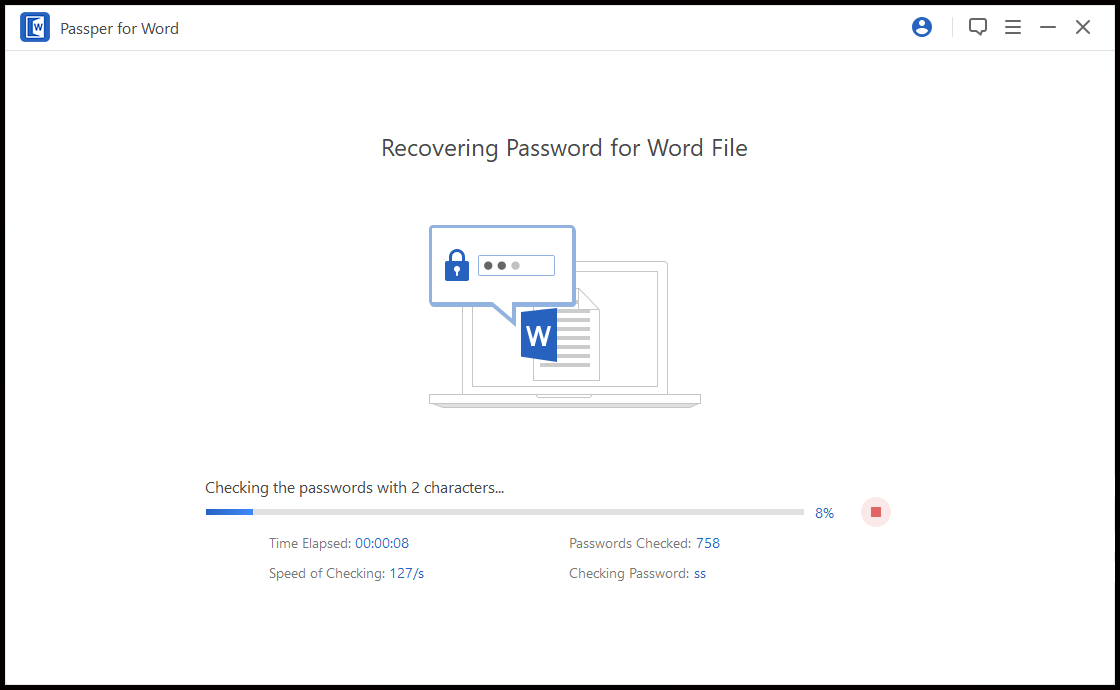
Wait for a few minutes and the password should appear on the screen. If the recovery is unsuccessful you can go back and try another attack mode option.
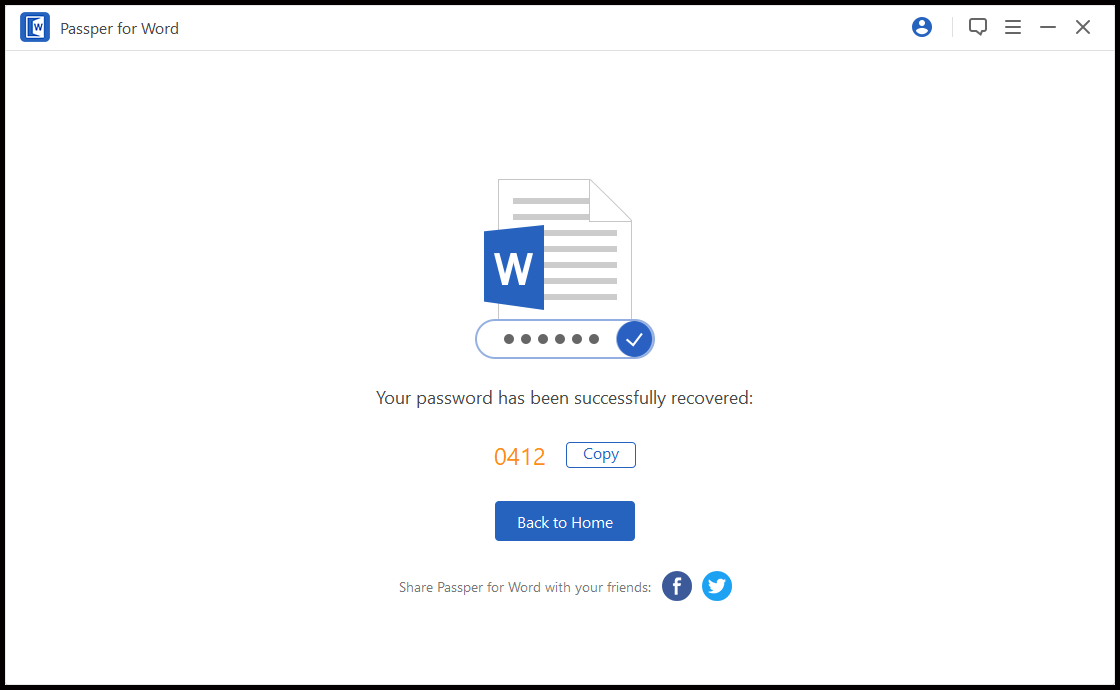
Just a tip whenever you encrypt a password on a Word document, make sure not to combine complex passwords or make it too long. Otherwise, you may end up waiting days or even forever before you recover the password.
How to Stop the Word Document Password Protection
Now that you have the password, you won’t have any problem opening the file. But if you want to remove the password incense you don’t want to get in the same trouble, then the following steps can help you.
Step 1: Open the Microsoft Word document and then click “File” and go to “Info” and select “Protect Document”.
Step 2: Under the “Protect Document” menu, select “Encrypt with Password” so you can remove the password.
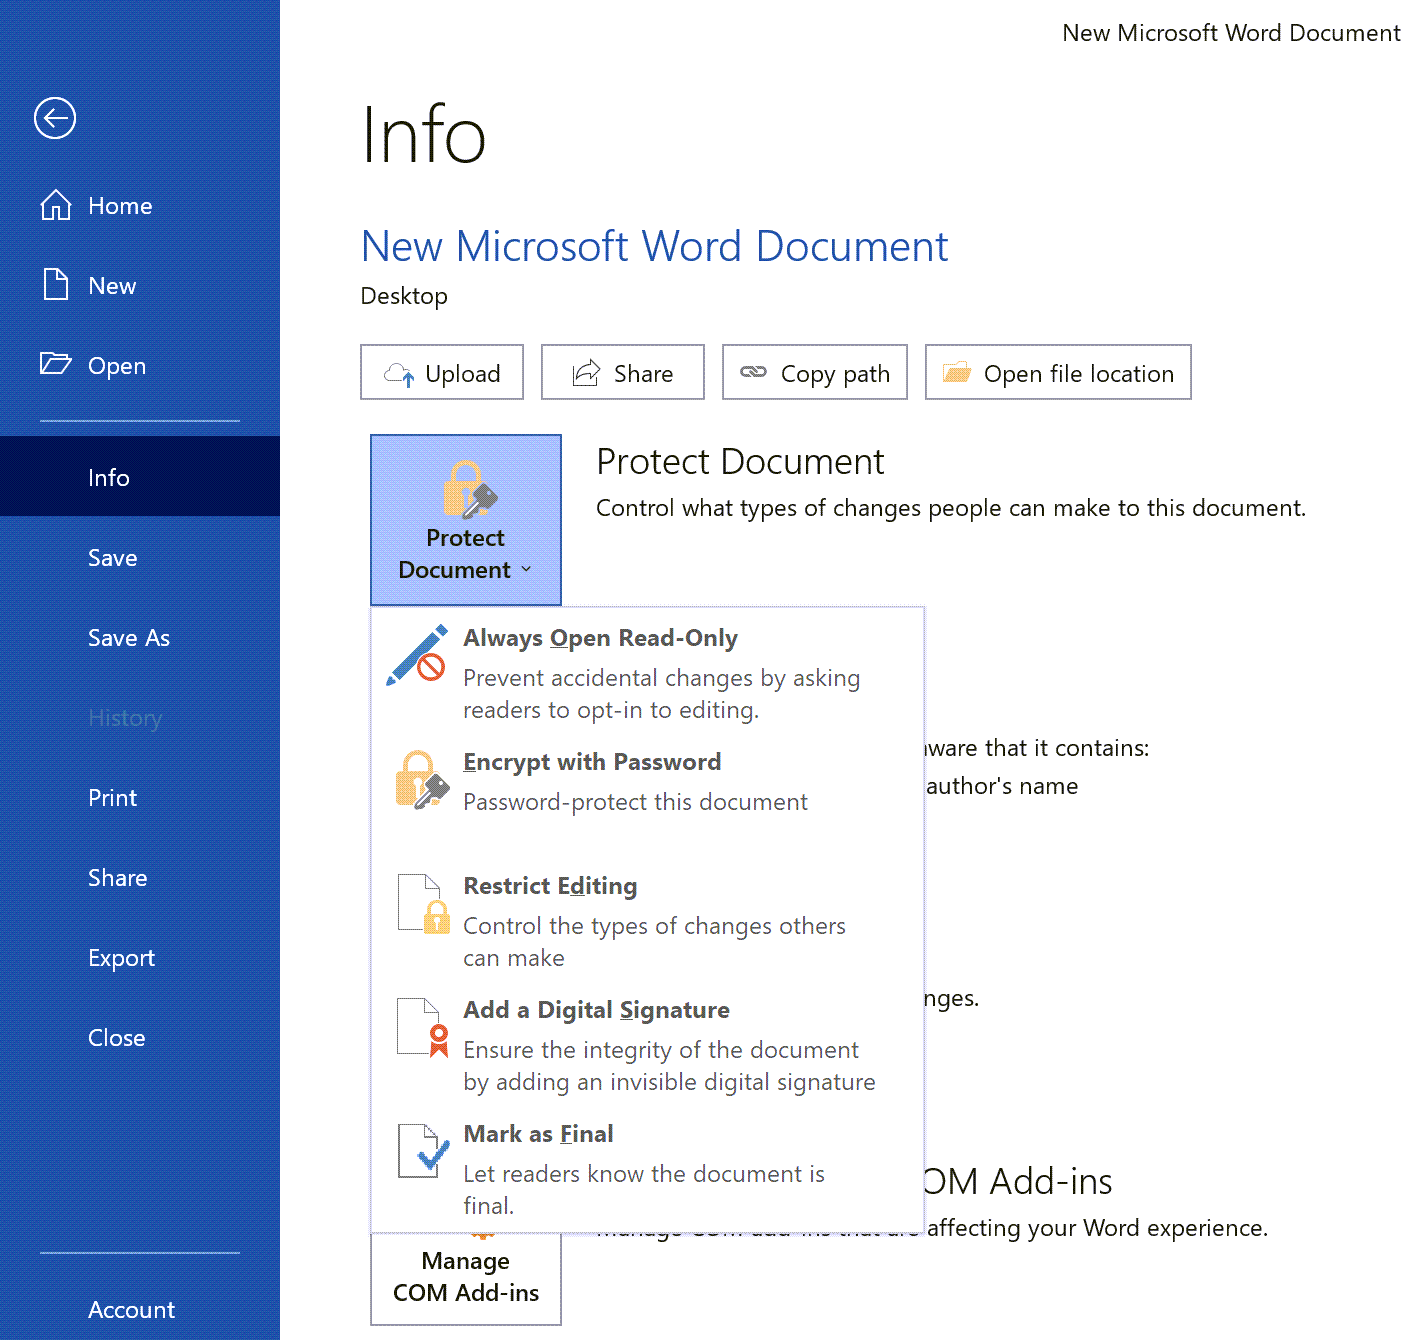
Step 3. Delete the encrypted password then click “OK”. This will remove the encrypted password from the Word document, making it an unprotected file.
I hope my tutorial helps you with the hassle of opening and editing a locked Word document. But if ever you’ll have trouble in the future opening a protected or restricted document, especially if you forgot the password you know your go-to tool, Passper for Word.


