
It’s no secret that Apple’s MacBooks have some of the most expensive SSDs on the market. For many Mac users, that is simply not enough storage. Those of you with smaller-capacity drives (128GB or 256GB) in particular know how quickly they can fill up. Even with larger drives, you have probably had to content with a cramped system at some point.
If you find yourself frequently running out of space, it may be time to start taking some proactive steps to ensure you always have plenty of room to grow. Here are a few simple tips that can help you free up more space on your Mac.
Use Apple’s Built-In Tool to Clear Some Disk Space on a Mac
First, let’s start with the obvious. Apple has a built-in tool for helping you reclaim some space, and it’s called Storage Management. To find it, open the About This Mac window (click the Apple logo in the top left corner of your screen and then select “About This Mac”). Click the “Storage” tab, then click “Manage”.

In the Storage Management window, you’ll see a nice overview visual of how your disk space is being used. In the sidebar, you’ll see a list of all the different types of files on your Mac, and how much space each one is taking up.
Click on one of the file types to see a breakdown of which specific items are taking up the most space. For example, if you click on “Applications”, you’ll see all your apps, sorted by size. This can be a great way to quickly identify which files are taking up the most space so you can decide whether or not you need to keep them.
To delete any of the files that are taking up space, simply select them and click the “Delete” button at the bottom of the window. You can also right-click (or Control-click) on files and select “Delete” from the pop-up menu.
After you have deleted any unnecessary files, you can click on “Recommendations” in the sidebar to see what else Apple thinks you can do to free up space:
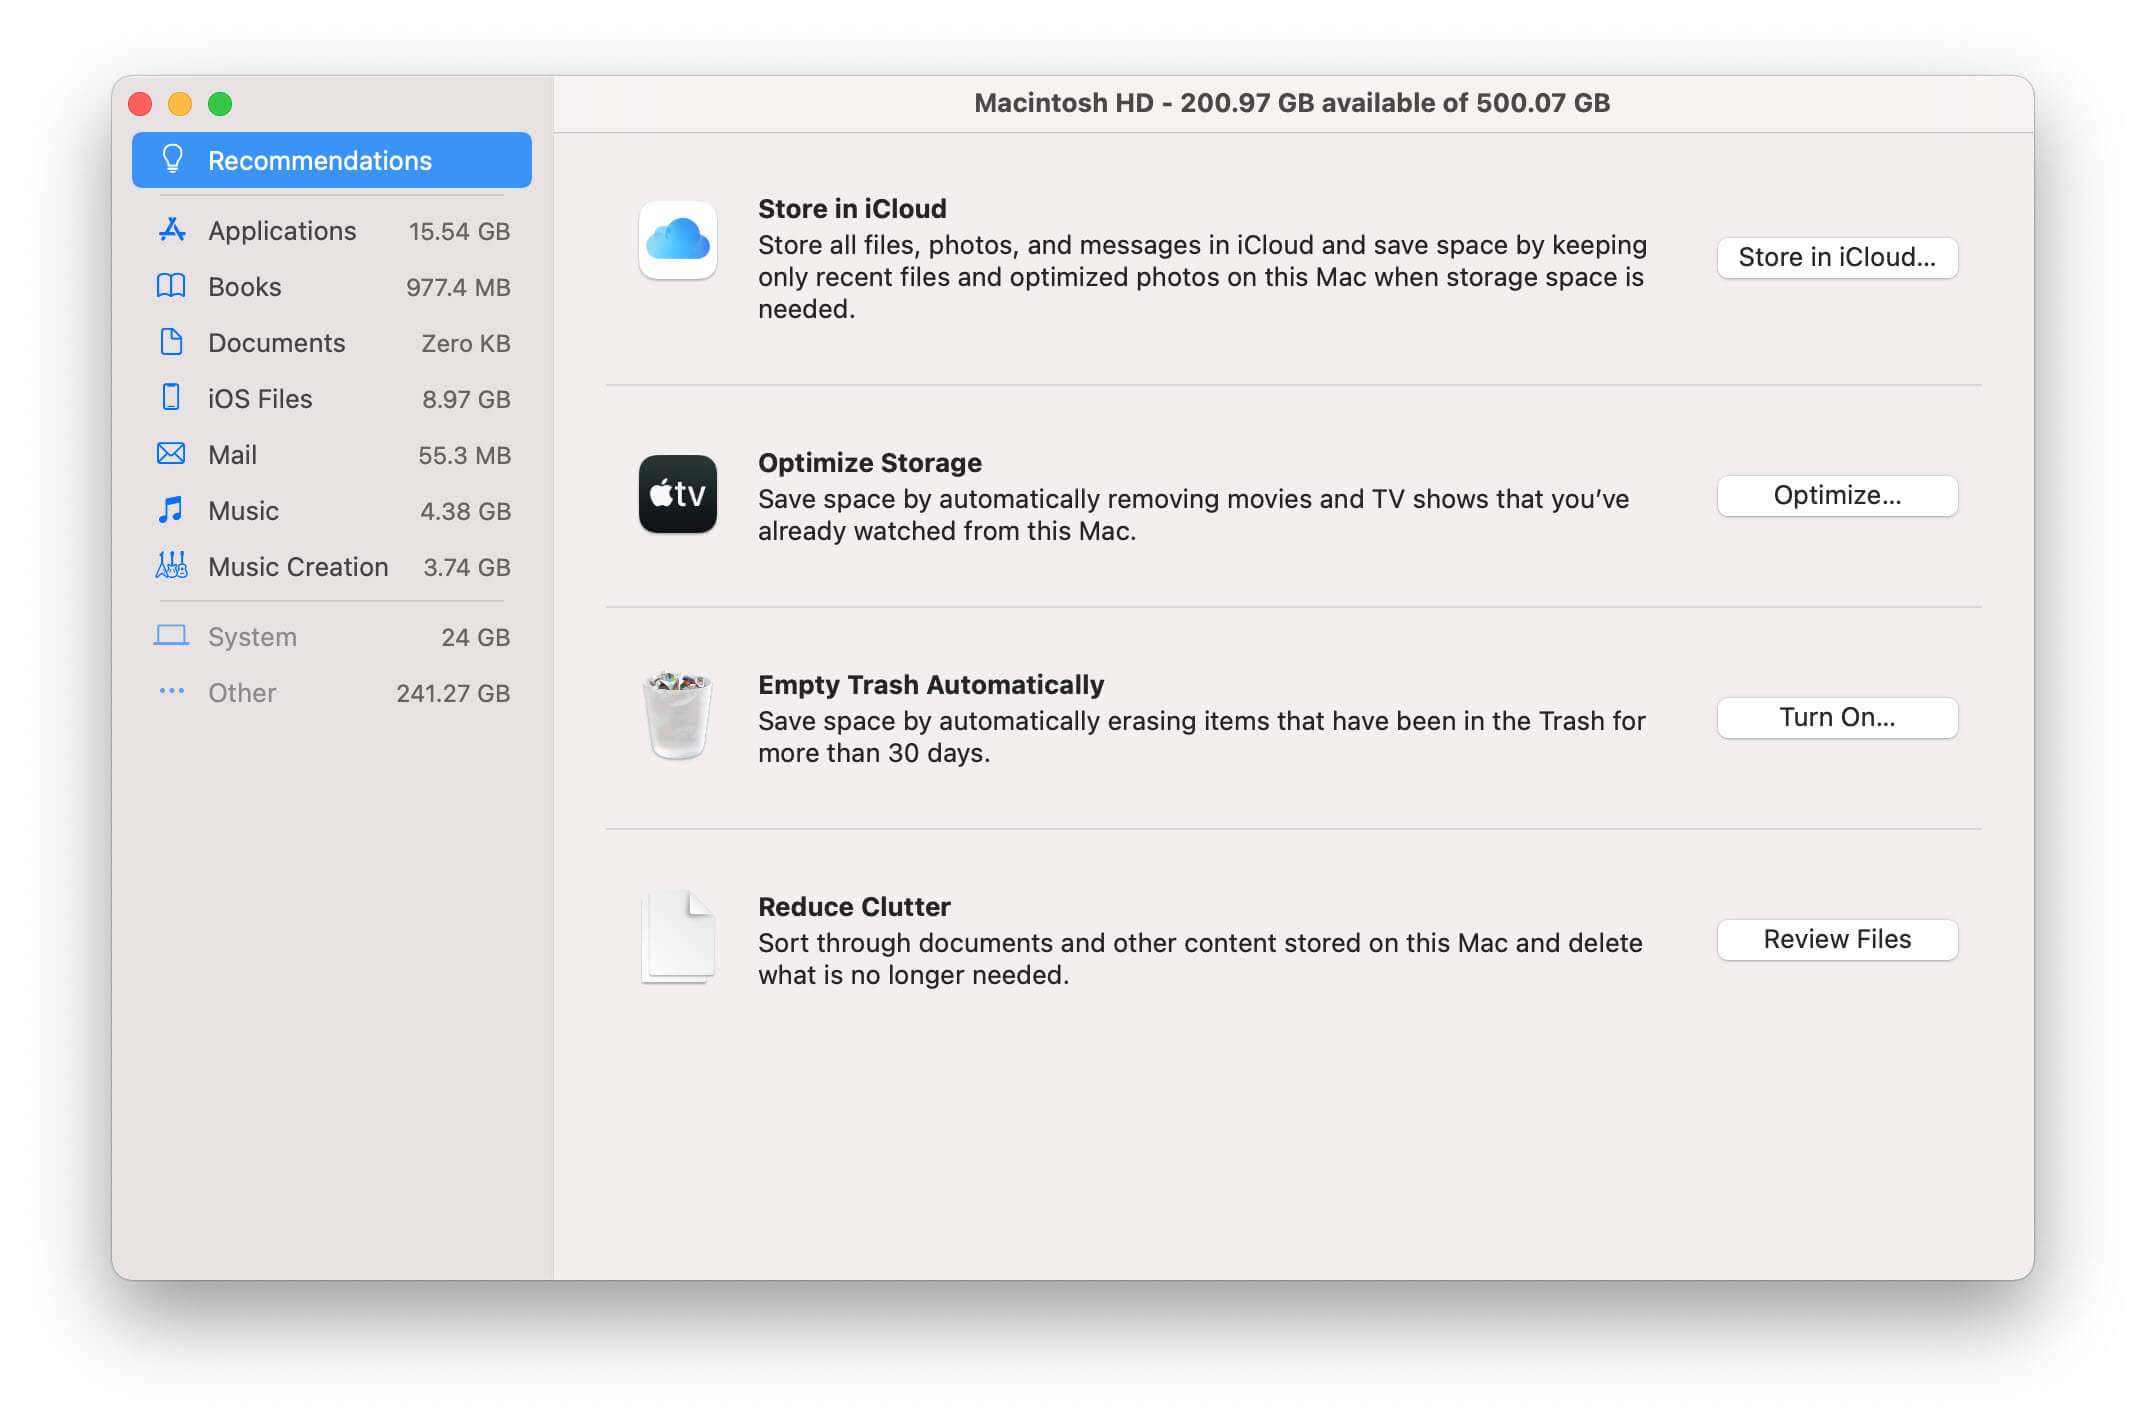
- Store in iCloud
The first recommendation is to “Store in iCloud”. This is Apple’s way of saying that you should enable iCloud Drive and/or iCloud Photo Library.
If you’re not familiar with iCloud, it’s a cloud-based storage service from Apple that lets you store all kinds of files in the cloud and sync them across all your devices. So, for example, if you have a Pages document on your Mac that you want to be able to access on your iPhone, you can store it in iCloud Drive and it will automatically sync.
iCloud Photo Library is a similar service, but for photos and videos. It lets you store your entire photo and video library in the cloud and sync it across all your devices.
So why does storing data in iCloud save space? Well, when there isn’t enough room, only the recently opened files and messages will be kept on your Mac. If you want to view an older document that you haven’t opened in a while, a cloud symbol will appear next to it to allow you to bring it down from the cloud and onto your Mac.
When it comes to photos and videos, you can turn on “Optimize Mac Storage” to have iCloud Photo Library keep only small-sized versions of your photos and videos on your Mac. The full resolution versions will be stored on iCloud, freeing up storage space on your Mac.
Of course, there is a downside to using iCloud Drive and iCloud Photo Library: it cost money. iCloud is free for up to 5GB of storage, but if you need more space, you’ll have to pay for it. Prices start at $0.99 per month for 50GB of storage and go all the way up to $9.99 per month for 2TB of storage.
- Optimise Storage
If you have a lot of movies and TV shows that you’ve already watched, they can take up a lot of space on your hard drive. This feature, “Optimize Storage”, means automatically removes watched content that is downloaded from your Apple’s TV app.
The movies and TV shows are still available in the app, and you can always re-download them later if you want to watch them again.
- Empty Bin Automatically
This one is pretty self-explanatory: it will automatically delete any files that have been in the Trash for more than 30 days. If you are someone who often forgets to empty the Trash, this can be a wonderful method to keep your Mac clean and tidy.
Just be careful with these options, as they can delete important files that you think you don’t need anymore, but actually do.
- Reduce Clutter
The final recommendation is to “Reduce Clutter”. This will take you to a new window with several tabs.
“Large Files” are the largest files on your computer. “Downloads” is likely to be the most cluttered folder. “Unsupported Apps” are apps that are no longer supported by the macOS. “Containers” are where apps store their data. “File Browser” shows all the folders on your computer. You can go through each of these tabs and delete any files that you don’t need anymore.
With these tips, you will be able to free up a significant amount of space on your Mac by deleting/uninstalling unnecessary apps, music, podcasts, photos, messages, and mail attachments, etc. Just remember to be careful as you don’t want to accidentally delete something important.
Compress Files That You Seldom Used
For the files that you seldom use, it is a good idea to compress them so they take up less space on your Mac but without losing any quality.
To do this, simply select the file or folder you want to compress, right-click on it, and select “Compress”. The compressed file will then be a .zip file (or Archive.zip if you compress many things at once). And then you can delete the original file.
When you want to access the file again, just double-click on it and it will automatically be unzipped.
Use an External Hard Drive
If you have a lot of large personal files, such as photos and videos, that you don’t want to delete or store in the cloud, an external hard drive is a good option. Just connect the hard drive to your Mac and then drag and drop the files you want to move over.
Many applications allow you to relocate the download folder to an external drive, so maybe you can move, for example, your entire Apple music library to an external drive too.
The external hard drive can also assist you a lot in backing up your Mac. You may back up to an external hard drive automatically with Time Machine when you connect it. Even if your Mac crashes because of too much data, you don’t have to worry about data loss as long as you have a backup.
Use Third-Party Clean-Up Software
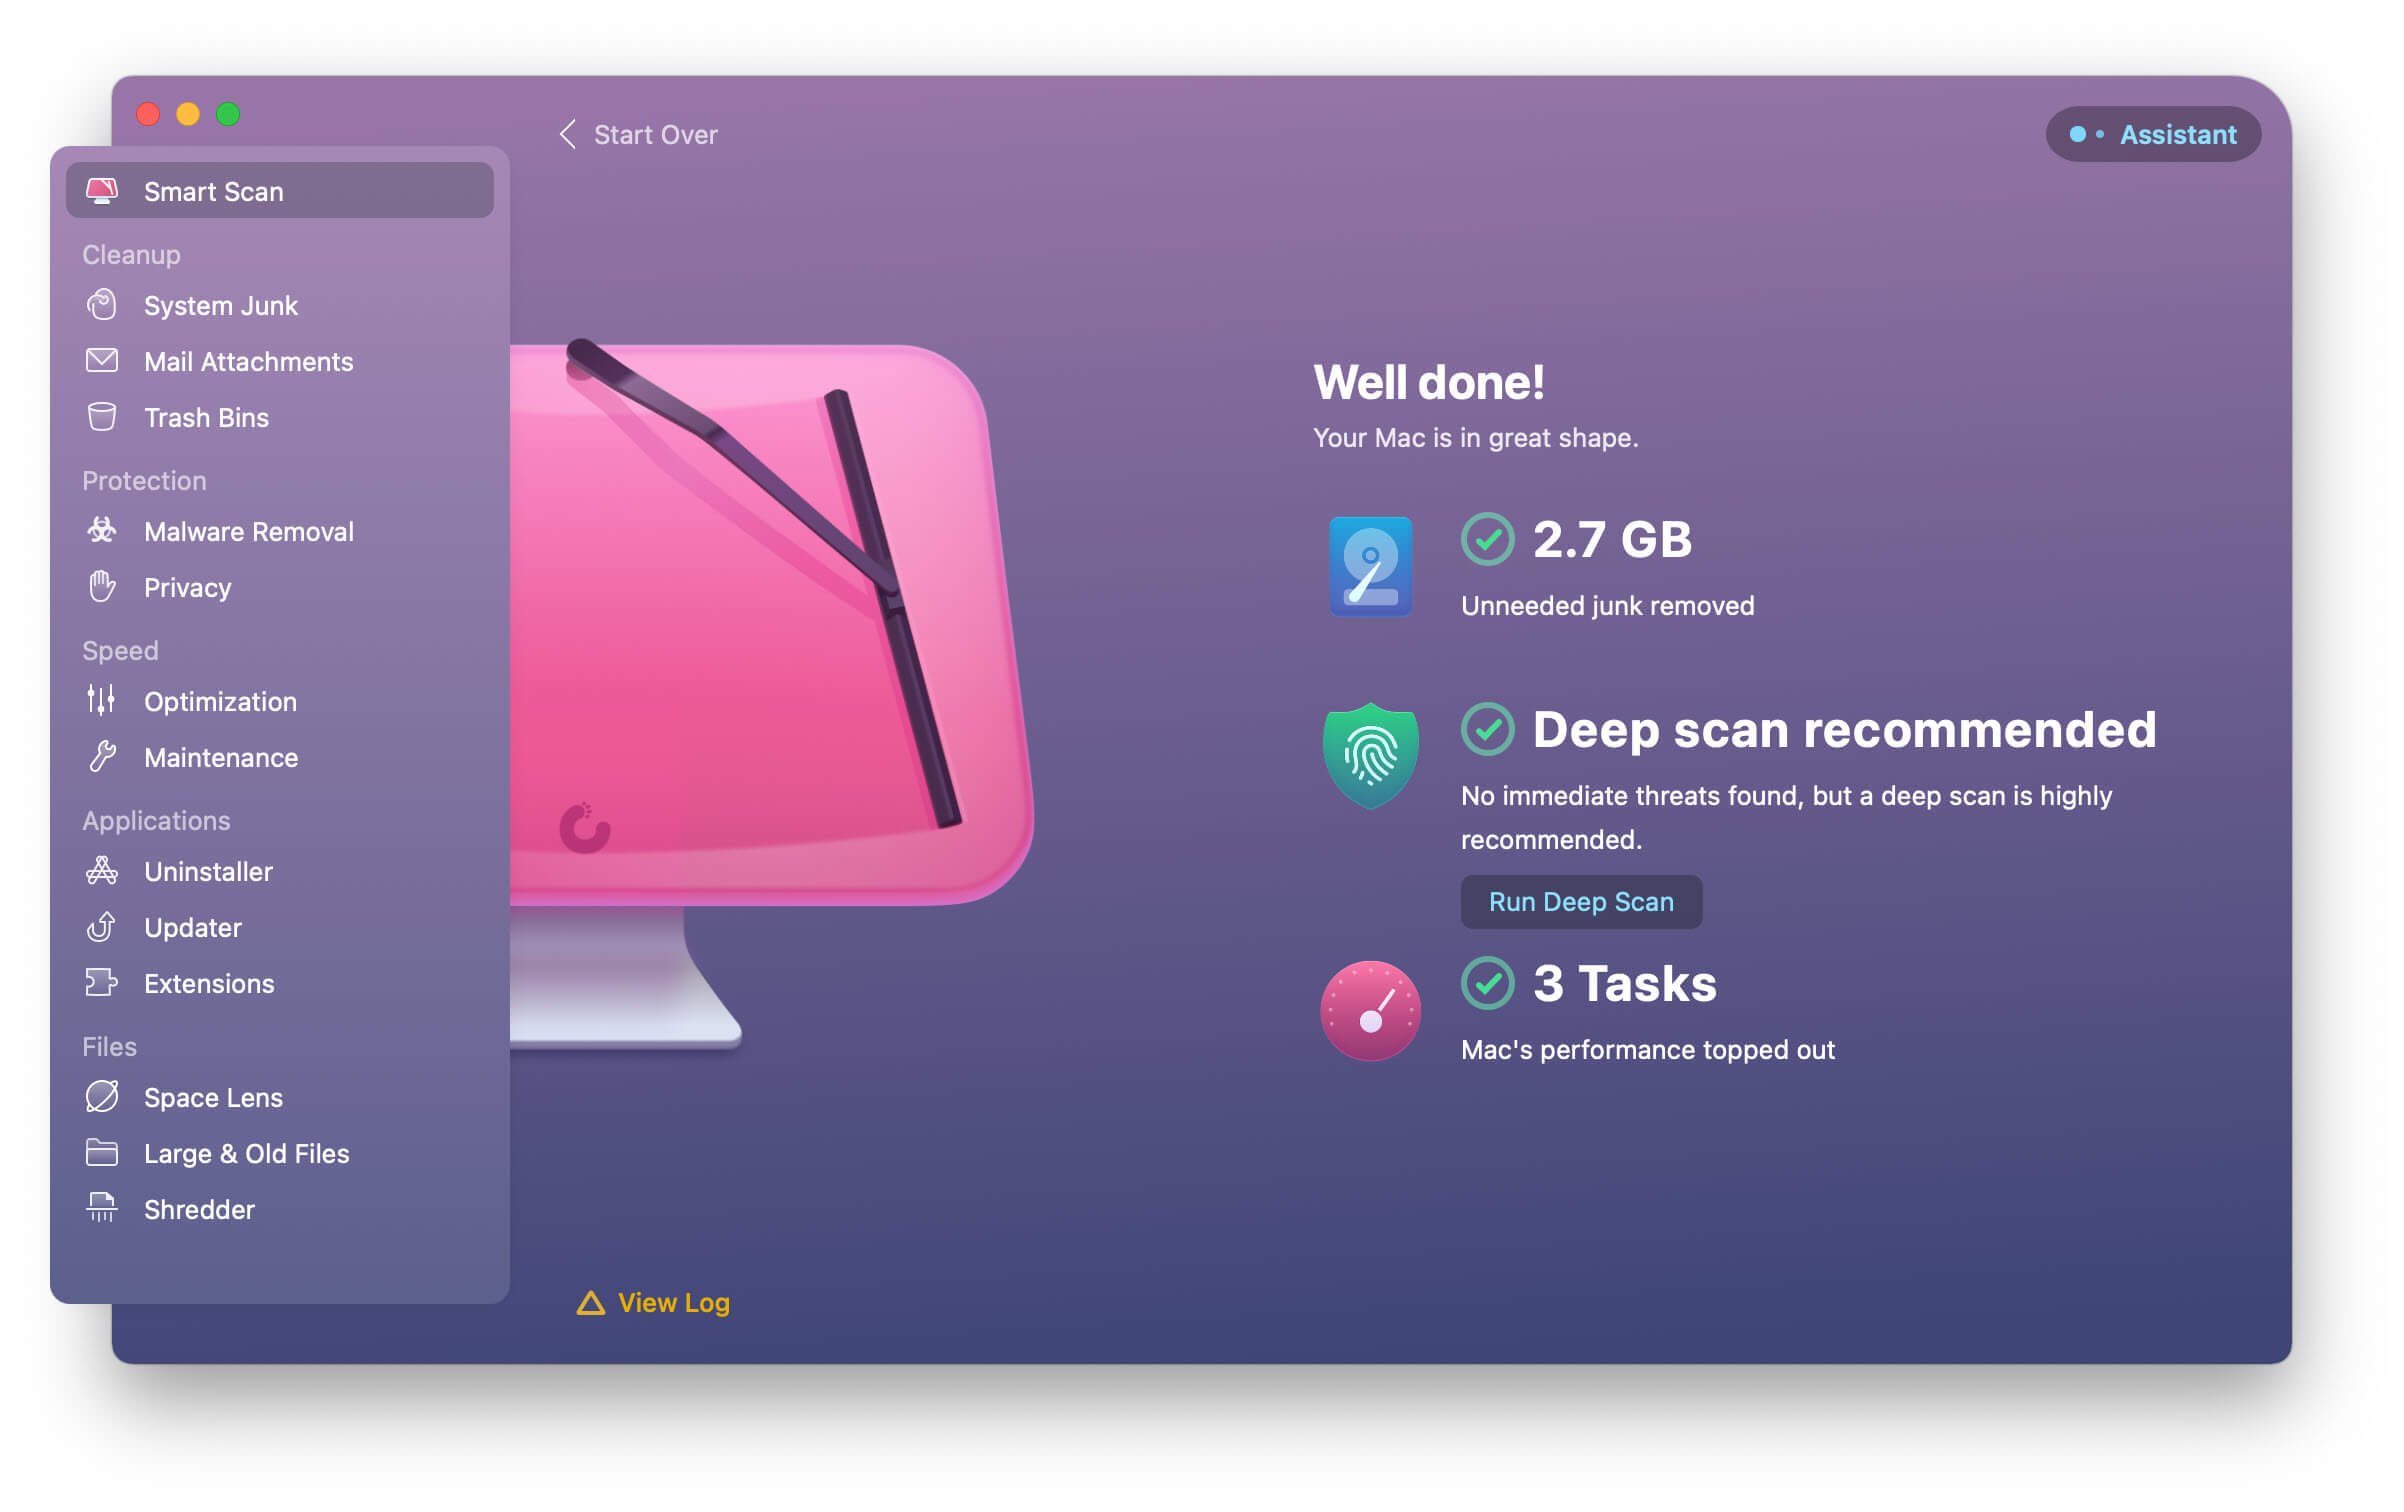
If you want to get a more detailed look at what’s taking up space on your hard drive, CleanMyMac X is one of the most popular all-in-one options. You can use it to uninstall stubborn programs, clean up app leftovers, remove system junk and cache, remove locked files, and more. It is very easy to use. It has a free trial, so you can try them out before deciding if you want to purchase them.
Free Download
As we all know, freeing up storage space on your Mac is always a pain. But with these tips, hopefully, it will be a little bit easier and less time-consuming.