How to Password Protect a Word Document from Opening and Editing
Several Ways of Protecting a Word Document
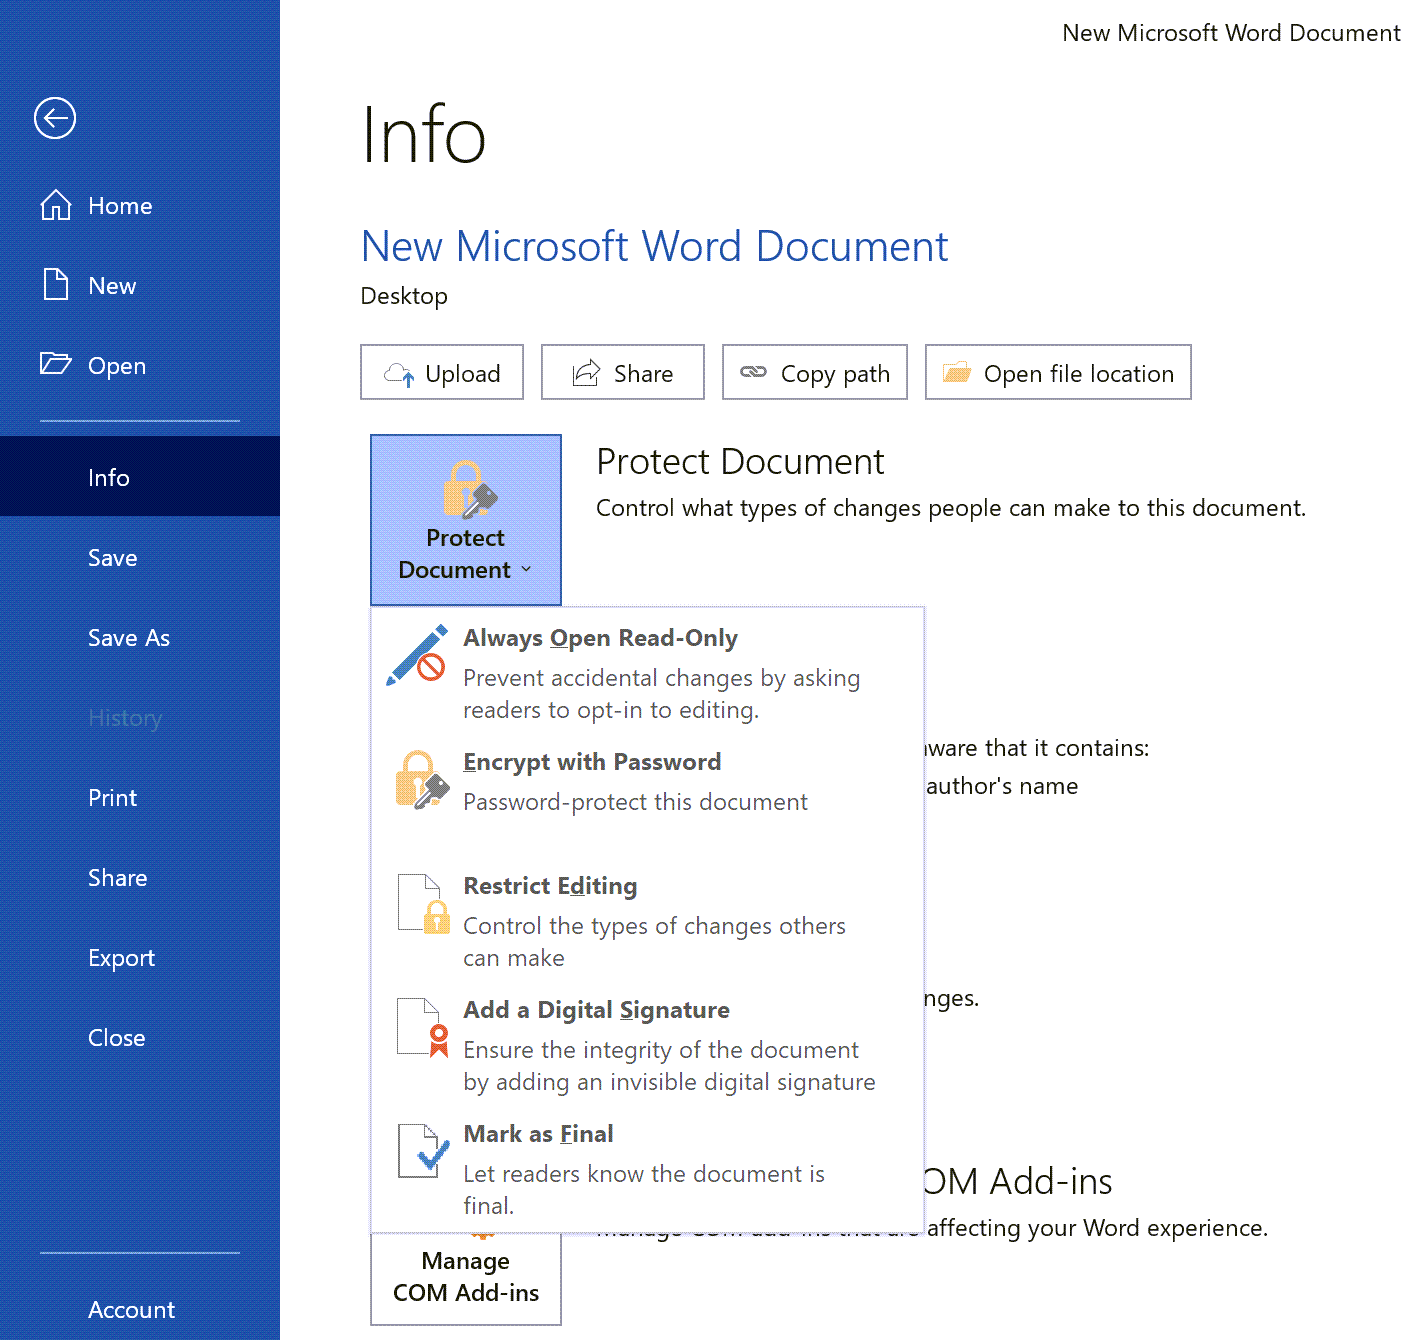
To protect a Word document, we need to go to “File” > “Info“, and click on “Protect Document“. There are five options in the drop-down list, only “Encrypt with Password” and “Restrict Editing” may involve password protection. Briefly introduce what they are:
- Always Open Read-Only: The Word document will be asked whether to open in “Read-only” mode every time a user opens it. If click “No”, it will be opened exactly like a normal Word document.
- Encrypt with Password: Use password to protect the Word document. Users will need to enter the correct password to open it.
- Restrict Editing: Set formatting restrictions and editing restrictions. It’s optional to set a password for people can enter the correct password to stop the restrictions.
- Add a Digital Signature: Add an invisible signature issued by a certificate authority.
- Mark as Final: When set, the “MARKED AS FINAL” hints will be displayed in the status bar. If a user clicks on “Edit Anyway” on the status bar, the Word document can be edited as normal.
How to Encrypt a Word Document with Password?
Using a user-provided password to lock a Word document is a direct way to determine who can read and who cannot. Those who know the password can open it easily, and those who don’t know may have certain difficulty cracking the password.
But you need to be aware of the Word versions. The default encryption algorithms of different Word versions are different. Some such as Word 97, 2000, 2002 and 2003, exist in name only weakly. With the help of some Word password recovery tools, an ordinary person can break all password protected Word 97-2003 documents in a few seconds. In the past ten years the algorithms have been improved, long and complex passwords are nearly impossible to crack with brute force on a home computer.
| Word 2016-2019 | Word 2007–2013 | Word 97–2003 | |
| Encryption algorithm | 256-bit key AES | 128-bit key AES | 40-bit key RC4 |
Here I’m going to show how to password protect a Microsoft Word 2019 document.
Step 1. Click on “Encrypt with Password”
Go to the “File” tab then go to “Info”. Click on “Encrypt with Password” from the drop-down list of “Protect document”.

Step 2. Set a Password
Word passwords can now be very long (up to 255 characters). Passwords are case-sensitive so ‘a’ and ‘A’ are different. Some characters such as uppercase i (I), lowercase L (l), and the number ‘1’ may look very much alike so you should be careful noting down the password you created. If you forget your password, Microsoft will not recover it for you.
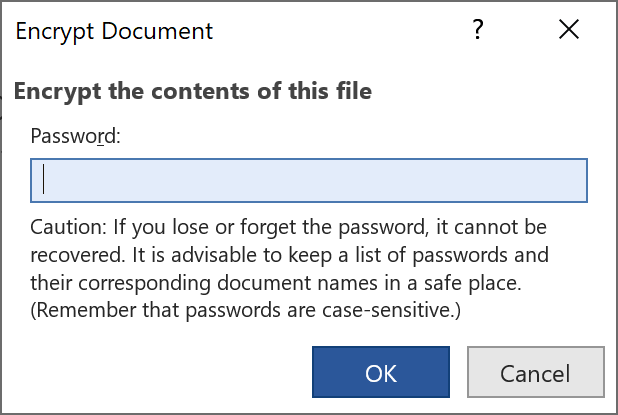
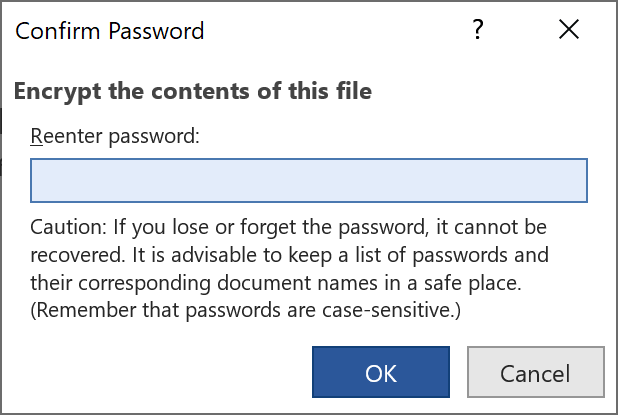
Step 3. Save the File by Pressing Ctrl + S
After you save the Word document, the password will start taking effect.
How to Password Protect a Word Document for Editing?
The “restrict editing” feature is convenient for people who need document collaboration to allow others to read your document only or edit under the allowed conditions and scope. These are the steps to password protect a Word document from being edited.
Step 1. Click on “Restrict Editing”
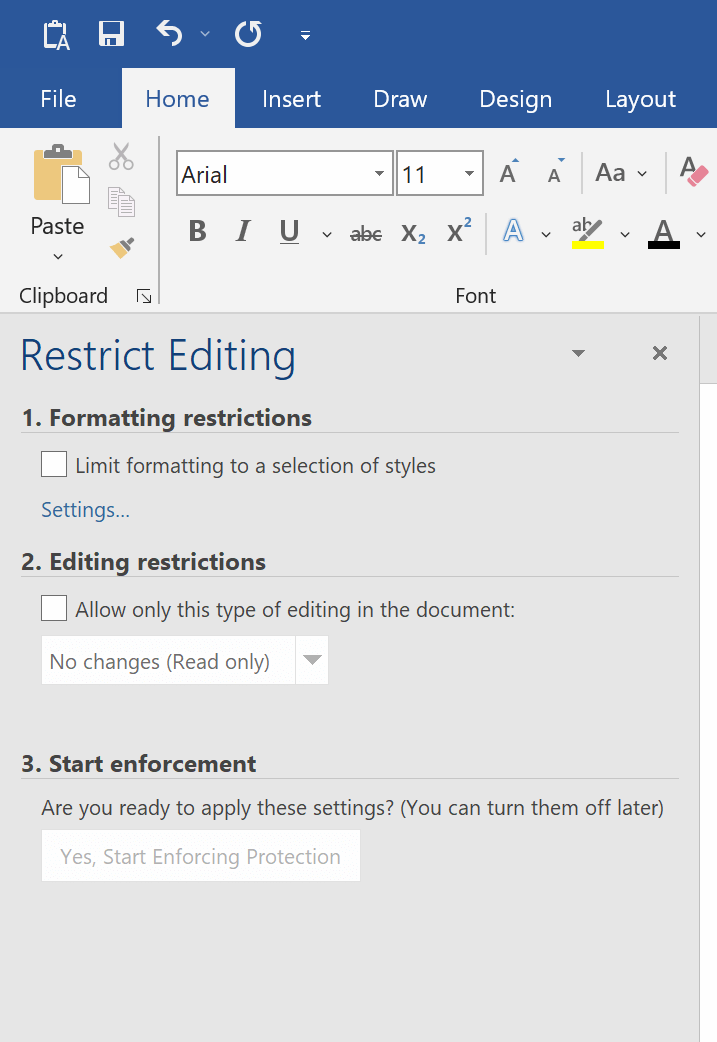
Go to the “File” tab > “Info” > “Protect document” and select the “Restrict Editing” option. The left sidebar as shown will appear. There are two main kinds of restrictions: formatting restrictions and editing restrictions. You can set both or one of them.
Step 2. Set Restrictions
- Formatting restrictions
Formatting restrictions are for restricting other people from changing the styles you selected. Go to “Settings”, you can find more subdivision options.

This is how it looks after “Formatting restrictions” take effect.

Going more detailed on the settings: Restrict formatting changes.
- Editing restrictions
There are four kinds of editing restrictions you can set: “No changes (Read only)”, “Tracked changes”, “Comments”, and “Filling in forms”. “Comments” and “No changes” allow you to select exceptional users.

Know more details from: Allow changes to parts of a protected document.
Step 3. Set a Password (Optional)
Click on “Yes, Start Enforcing Protection” and this window will pop up. It’s optional to set a password. If you don’t need the others to be able to remove the restrictions by themselves, you can just leave this out and then save the Word document you have set editing restrictions.

Can I Password Protect a Word Document from Being Copied?
Honestly, no. Microsoft Word was created to be edited. Even if you restrict the document to read only, others can still easily copy the full content to another Word document for modifying.
Here’s the rule. If they can read it, they can copy it. All you can do is to make it harder from being copied. In order to perform that goal, I think you’d better create a read only PDF instead of a Word.
What If I Forget the Opening Password?
If your version of Word is in recent years, then long and complex passwords are almost impossible to recover by brute force.
For a slightly simpler password, you can try to recover by using Passper for Word. This software provides two main functions: “Recover Passwords” and “Remove Restrictions”.
Here’s the download button:
Download
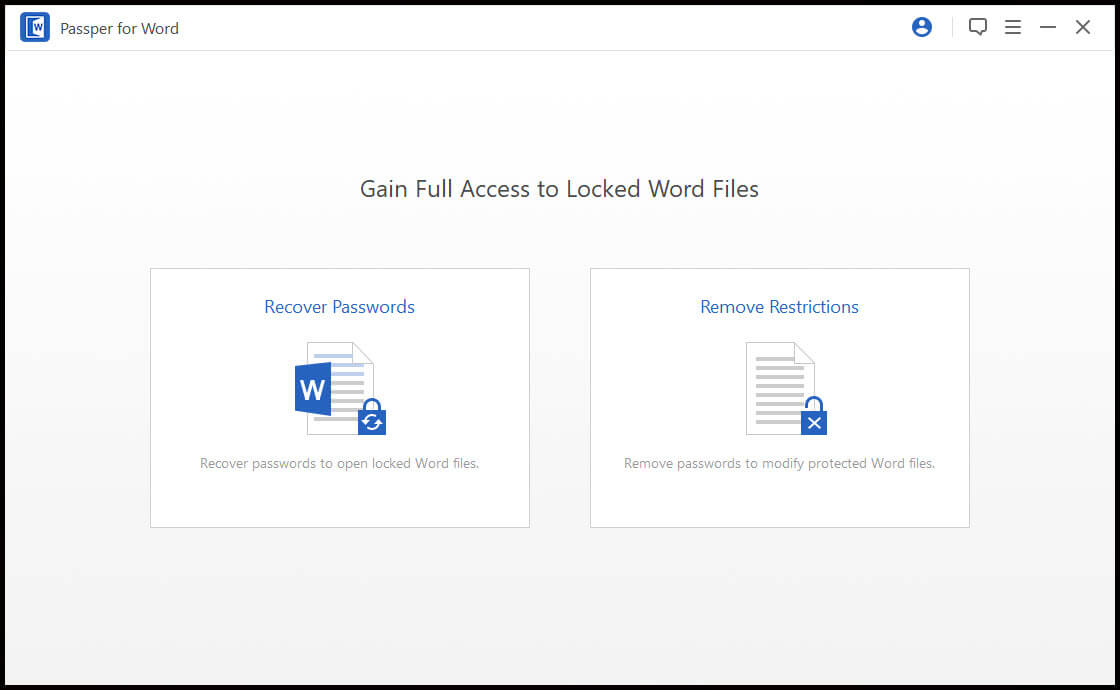
There are four recovery methods for Word opening passwords. If you are very sure about some details of the password, try “Combination Attack”. If you remember something but not very well, try “Mask Attack”. Know nothing about the password? You can try “Dictionary Attack”, and if that fails, use “Brute Force Attack”.

Create a Word password is simple, but the most important is to create a password that is strong enough and you can remember, or you remember how to find it from a safe storage place.


